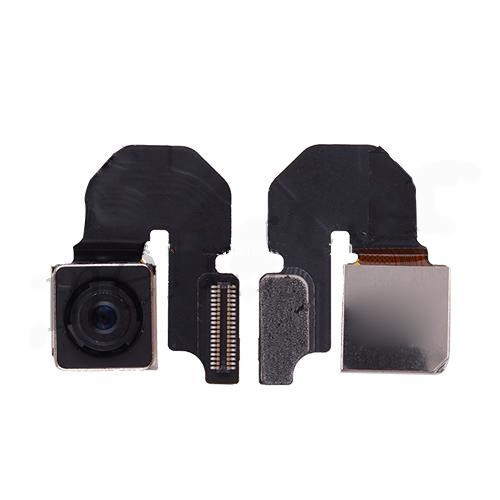
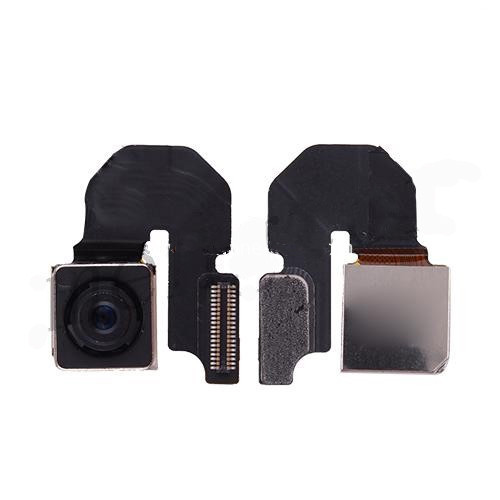
- Rear Camera with Flex Cable for iPhone 6
- Category:iPhone 6 parts
- Model:
- View:2079
Detail
Rear Camera with Flex Cable for iPhone 6
This is 100% original Back Rear Camera for iPhone 6. It is new and Genuine with best quality. When the iPhone6 Back camera is damaged or crashed, you can use it for replacment. How ever, it is not so easy for a normal people to replace the back rear camera on iPhone 6, it is better to go some repair shop to ask help.
Back Rear Camera for iPhone 6 Information
Weight: 10g
Warranty: 6 Months
Compatible: for iPhone 6
Package Include: 1x Rear Camera Modul
Back Rear Camera for iPhone 6 Function
It is used to replace damaged Back camera

How to replace Back Rear Camera for iPhone 6
Step 1:
Remove the two 3.6 mm Pentalobe screws next to the Lightning connector.
Step 2:If the plastic depth gauge is attached at the center of the iSclack, remove it now-it's not needed for larger phones like the iPhone 6.
Close the handle on the iSclack, opening the suction-cup jaws.
Step 3:
Place the bottom of your iPhone in between the suction cups.
Position the iSclack's upper suction cup against the display, just above (but not covering) the home button.
Open the handles to close the jaws of the iSclack. Center the suction cups and press them firmly onto the top and bottom of the iPhone.
Step 4:
Hold onto your iPhone securely and close the handle of the iSclack to separate the suction cups, pulling the front panel up from the rear case.
The iSclack is designed to safely open your iPhone just enough to separate the pieces, but not enough to damage the display cables.
Peel the two suction cups off your iPhone.
Step 5:
If you don't have an iSclack, use a single suction cup to lift the front panel:
Press a suction cup onto the screen, just above the home button.
Step 6:
While holding the iPhone down with one hand, pull up on the suction cup to slightly separate the front panel assembly from the rear case.
Using a plastic opening tool, begin to gently pry the rear case down, away from the display assembly, while continuing to pull up with the suction cup.
Step 7:
Pull the plastic nub to release the vacuum seal on the suction cup
Remove the suction cup from the display assembly.
Step 8:
Open the iPhone by swinging the home button end of the front panel assembly away from the rear case, using the top of the phone as a hinge.
Step 9:Open the display to about a 90º angle, and lean it against something to keep it propped up while you're working on the phone.
Add a rubber band to keep the display securely in place while you work. This prevents undue strain on the display cables.
For more steps plz go to ifixit wed for reference.


 anandacn


