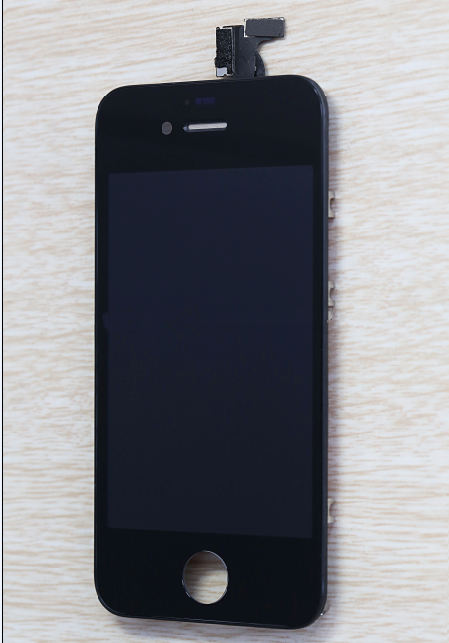
- Original LCD Screen for iPhone 4S
- Category:iPhone 4S parts
- Model:
- View:2162
Detail
Original LCD Screen for iPhone 4S
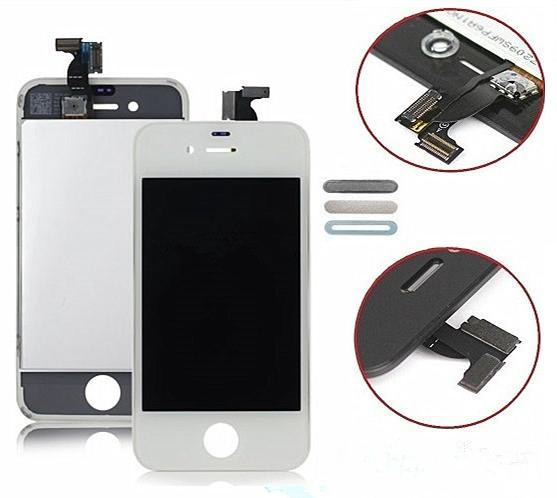
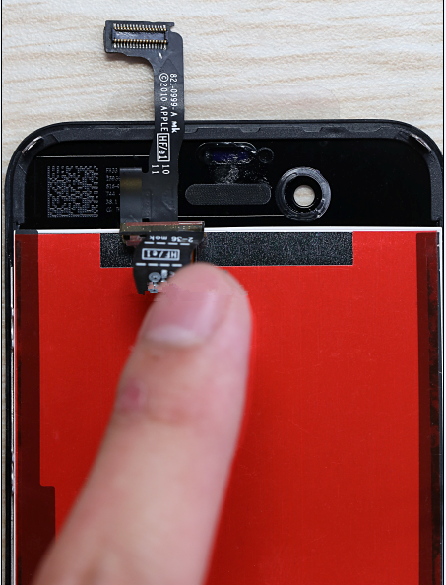
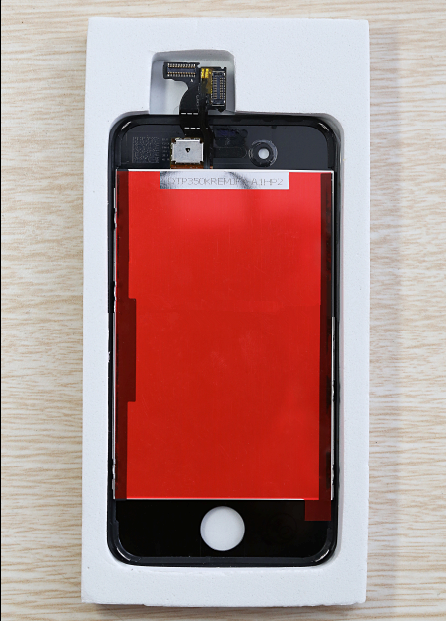
If you are looking for a top quality display screen for your iPhone 4S replacement, this is the best selection. We say it is the best, because all the parts are original, and it past our strickly inspection. After replacement, your iPhone 4S will be new and totally same as before. So best man use the best parts for his smartphone.
Each kit before being sent is subjected to tough quality controls, using a special tester we can verify the correct operation of the touch screen, the LCD display in the retina and the same we can do a scan of a wide range of shades of color. Therefore every small defect is visible and the product is immediately discarded. This way, we ensure our customers the highest quality product. Beware of items at lower price with dull colors, yellowed or problems that give the proximity sensor. Thanks to your feedback we were able to get a product that will leave you fully satisfied with both the quality and for the great price.
Original Screen for iPhone 4S Specification
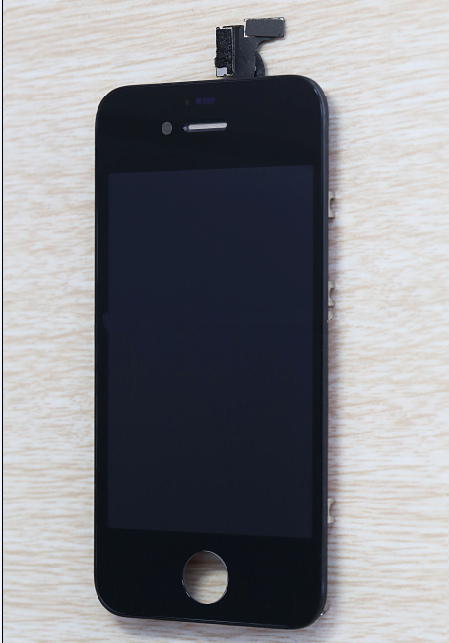
- Genuine LCD + genuine Digitizer + genuine frame
- New and higest quality
-
Color: White and white
- Weight: 65g
- Compatible: for apple iPhone 4S
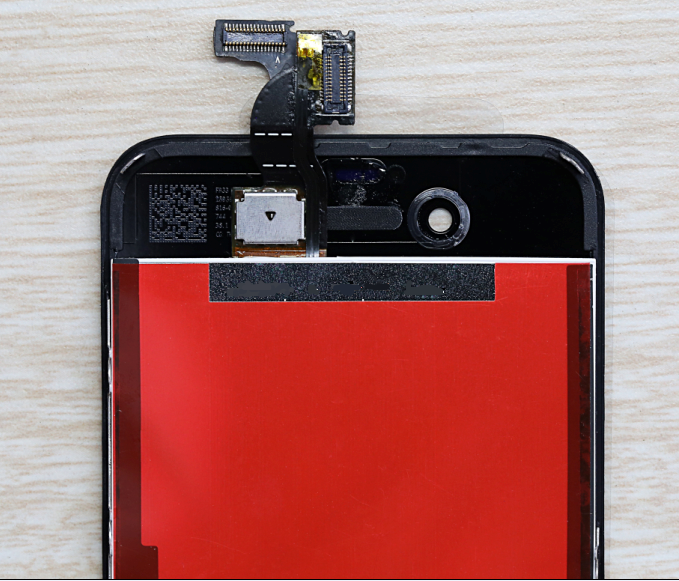
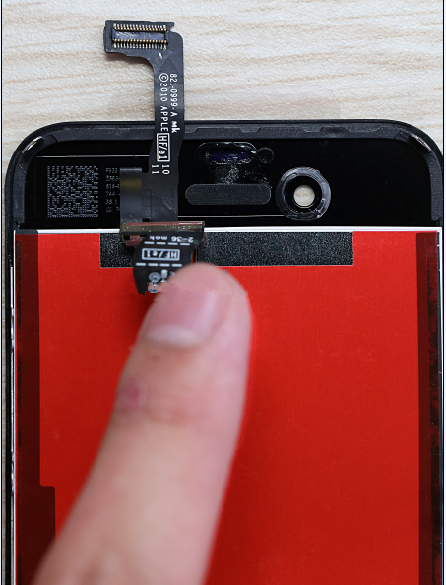
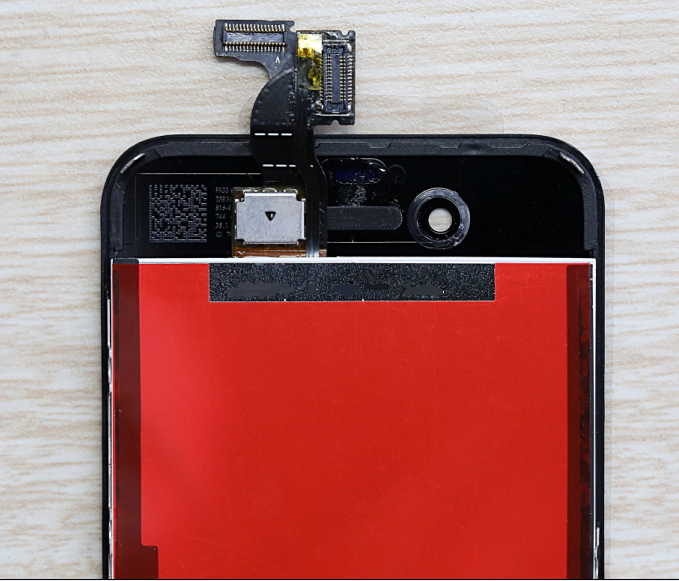
- Fixed Camera ring, Earpiece mesh, Sponge on connector
- Clean Processing
- No scratch, no stripping, no spot, no dead pixel, no overflow glue, distortion and other LCD problems.
Package include
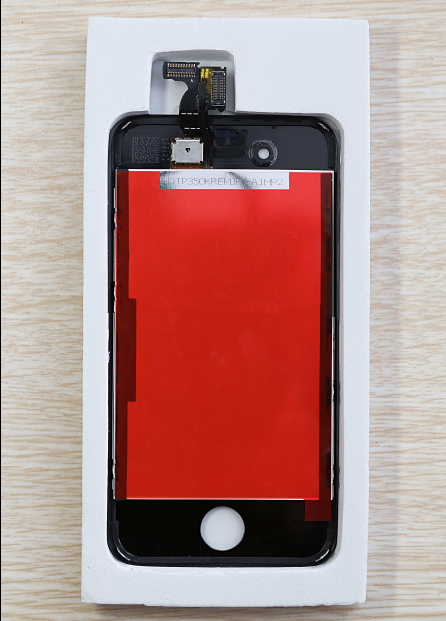
LCD + touch screen for Apple iPhone 4s package
- Display LCD in retina compatibile for Apple iPhone 4s
- LCD display in retina compatible with Apple iPhone 4s
- Touch screen compatible with Apple iPhone 4s
- Frame metal frame with hooks to connect the display to the chassis of the iPhone
- Flat or connectors for connecting the display and the tuoch screen with the home board
- EVA box perfect packing
LCD Screen for iPhone 4S function
it is used to replace damaged iPhone 4S display screen.
How to replace LCD screen for iPhone 4S
Step 1:
Your iPhone 4 rear cover may have either two #000 Phillips screws or Apple's 5-Point "Pentalobe" screws.
Check which screws you have, and ensure you also have the correct screwdriver in order to remove them.
Remove the two 3.6 mm Pentalobe or Phillips #000 screws next to the dock connector.
Step 2:
Push the rear panel toward the top edge of the iPhone.
Step 3:
Pinch the rear panel with your fingers and lift it away from the iPhone. Alternatively, use a small suction cup .
Step 4:
Remove the single 2.5 mm Phillips screw securing the battery connector to the logic board.
Step 5:
Use a plastic opening tool to gently pry the battery connector up from its socket on the logic board.
Remove the metal clip covering the antenna connector.
Step 6:
Use the clear plastic pull tab to gently lift the battery out of the iPhone.
Remove the contact clip from the iPhone.
Step 7:
Use a SIM card eject tool or a paperclip to eject the SIM card and its holder.
Remove the SIM card and its holder.
Step 8:
Remove the following two screws: 1.2mm and 1.6mm.
Remove the thin steel dock connector cable cover from the iPhone.
Step 9:
Use an iPod opening tool to gently pry the dock cable connector up off the logic board from both short ends of the connector.
Step 10:
Carefully peel the dock ribbon cable off the logic board and the lower speaker enclosure.
Step 11:
Use a plastic opening tool to pry the lower antenna connector up off its socket on the logic board.
Step 12:
Remove the 1.9 mm Phillips screw securing the bottom of the logic board to the inner case.
Step 13:
Remove the following five screws securing the Wi-Fi antenna to the logic board: 2.3mm, 1.6mm, 1.4mm, 4.8mm.
Step 14:
Use an iPod opening tool to slightly lift the top edge of the Wi-Fi antenna away from the logic board.
Use the tip of a spudger to pull the Wi-Fi retaining clips away from the inner frame.
Step 15:
Use an iPod opening tool to carefully lift the rear camera connector up off its socket on the logic board. Remove the rear camera.
Step 16
Remove the small circular white sticker (warranty sticker and water indicator) covering the screw near the battery pull tab.
Step 17:
Use the edge of a plastic opening tool to gently pry the following connectors up and out of their sockets on the logic board:
Digitizer cable (pry from bottom)
LCD cable (pry from bottom)
Headphone jack/volume button cable (pry from top)
Top Microphone/sleep button cable (pry from top)
Front camera cable (pry from top)
Step 18:
Use a small flathead screwdriver to remove the 4.8 mm standoff near the headphone jack.
Step 19:
Carefully remove the logic board from the iPhone, minding any cables that may get caught.
Step 20:
Remove the single 2.4 mm Phillips screw securing the speaker enclosure to the side of the inner frame.
Step 21:
Remove the speaker enclosure from the iPhone.
Step 22:
Remove the following two screws securing the vibrator to the inner frame: 6mm and 1.4 mm
Remove the vibrator from the iPhone.
Step 23:
Remove the 1.5 mm Phillips screw securing the front panel near the headphone jack.
Step 24:
Remove the three large-headed 1.5 mm Phillips screws along the volume button side of the iPhone.
Step 25:
Remove the 1.5 mm Phillips screw near the lower microphone.
Looking for ideal iPhone 4S LCD Original Manufacturer & supplier ? We has a wide selection at great prices to help you get creative. All the iPhone 4S Screen Original are quality guaranteed. We are China Origin Factory of Original iPhone 4S LCD. If you have any question, please feel free to contact us.




 anandacn


